Written by Jeff on Thursday, December 21, 2017.
Text
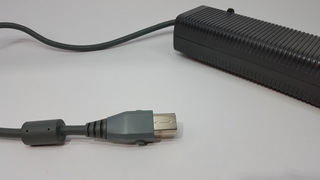 |
| Fig. 1 unaltered XBOX 360 PSU |
Firstly we get rid os this narly xBox plug. Bare wires are simply much eaiser to work with when powering things LEDs.
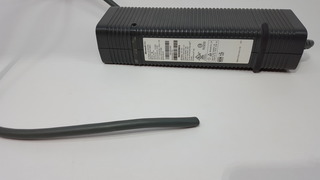 |
| Fig. 2 Remove Plug |
text
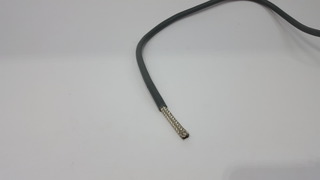 |
| Fig. 3 Remove Outer Jacket |
The next operation is to remove the outer insuation jacket. A utility knife can be used. This with expose a mesh EMI shild. Fig. 3 We are removing that too.
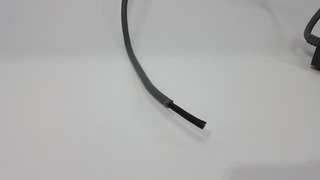 |
| Fig. 4 Remove Shield and Expose cadeling |
Another insulation sheath. Grab the utility knife again and curt thids off.
Finally we have ythe bare wires. Fig 6.
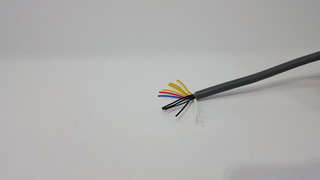 |
| Fig. 6 Wries Exposed |
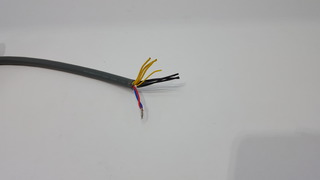
We will be cressing / connecting +5VSB & Power Enabble. The wite wire is unused and should be removed See chart for wire designations.
| Wire Designations |
| Yellow |
+12v |
| Black |
Ground |
| White |
Not Used |
| Red / Purple |
+5VSB |
| Blue |
Power Enable |
text
 |
 |
| Fig. 7 Connect / Cross Red & Blue |
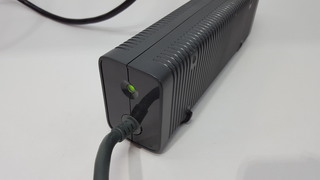
The green light of success |
At this point. to text I applied power to the unit. The intacator light glowed green. Success. Note: if the indacator lights red when power is applied and unit is stiill on standby (not on) and the +5VSB & Power Enabble are not connected correctly. Un plug the unit from power after this terst.
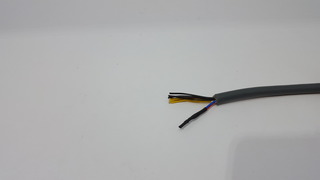 |
| Fig. 9 Red & Blue Heat Shrink |
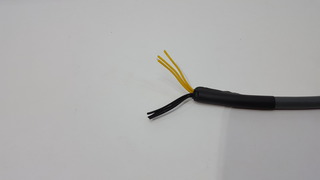
Now on the the astechic and clean up stuff. Bring on the head shrink tubing.
First we heat shrint the +5VSB & Power Enabble together. 3/32' fits perfectly. Fig 9
Next slide a short lengh of 3/8' over the outside of the cable.
Tuck the two crossed +5VSB & Power Enabble beneath the outside Heat Shrink.
 |
| Fig. 10 Complete |
Apply heat to seal everything up and you are done!
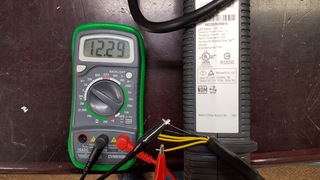 |
| Fig. 11 Outputing 12.3 Volts. Success! |
As a final test I pluged the unit back in and connected a multi meter to the +12V & ground wires. Output was ~12.3 volts. Sussess.

 Cart (


