News
-

.MSG Reader for VS Code - A simple way to view the contents of Outlook .MSG files in VS Code
Hello everyone. Simple post here today. I had Claude Code write a simple plugin for VS Code to allow you to open and view .MSG files. Yes, its free. I...
-

Vetco Electronics Free Recycling And Electronics Donation Service
Vetco Electronics Free Recycling And Electronics Donation Service. What Type OfElectronics RecycleDoes Vetco Accept? Vetco Accepts The following items for free donation or free recycle: -Computers, Desktop Computers, iMacs, Macs,...
-
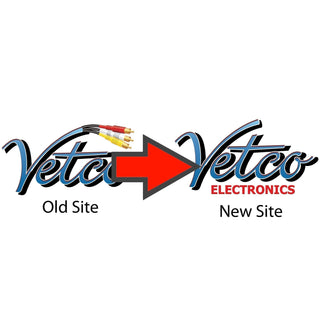
Vetco Electronic's New Website
Hello everyone! We just wanted to give everyone a update about our new website so they knew what's going on. In late November 2024, Vetco finally finished migrating to our...
-

"Is NTE going out of business?" - The current state of New Tone Electronics (NTE)
Hello Everyone! You may have heard rumors passing around about NTE going out of business? Well, unfortunately we are able to confirm that, after 40 years of operation,...
-
That time Vetco sent something to Dave at EEVblog
Okay, so the item wasn't exactly sent by Vetco Electronics. But it was sent by one of our very long-time employees Eli K. (He's responsible for Vetco having a website)...
-
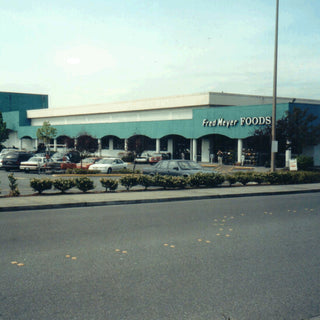
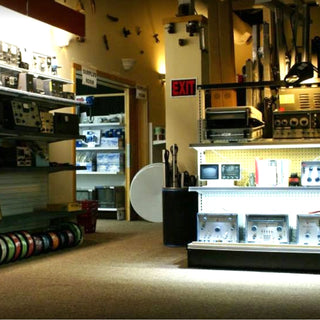
A Step Back In Time - Vetco Electronics Inside Of Fred Meyer
Hello everyone! Since the new year (2022) just started fresh, we thought that today we take a step back in time! More than 20 years! Back to 2001 when Vetco...
-

CONTEST: Show us what you've used our parts to build! $500 in prizes!
ENTRY NOW CLOSED! You may no longer send entries into this contest as it is now closed for entry (12-13-2021) ENTRY NOW CLOSED! You may no longer send entries into...
-
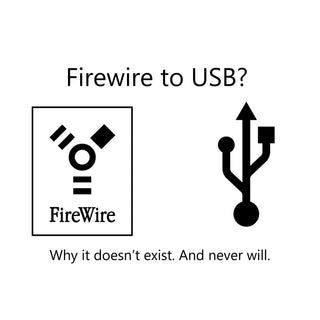
Firewire to USB? Why it doesn't exist and never will.
Are you looking for a Firewire to USB adapter or vice-versa? Do you need to hook your old external hard drive or DV camera to your PC or MAC to...
-
Why local stores charge more than online?
Online prices are cheaper because their cost to do business is cheaper. This allows online stores to sell products at a lower markup and makes it harder for your local...
-
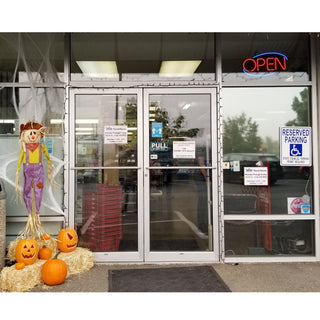
Happy Halloween Everyone!
Hello everyone! Not a super long or complicated post here. Just wanted to say hi to everyone and let you know we updated our hours: 9:00AM to 5:30PM for Monday...
-
“What happened to upstairs?”
“What happened to upstairs?” This is a question we have been getting a lot lately.And it’s a pretty fair question! A few months back (now) we got...
-
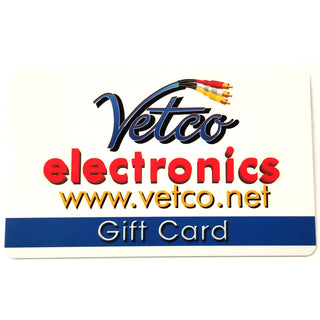
ATTENTION: Vetco Gift Card System Change-Over NOTICE - Updated 04-24-2025
Attention Vetco Gift Card Customers! Vetco is switching gift card systems! How this impacts you, as a gift card purchaser or holder? You MUST get into contact...


